Joining tables in Elasticsearch
Introduction
A table join is a very common and essential operation in the SQL world. Usually data is normalized by separating repeating information into separate tables. This is done to avoid duplication of data and is what normalization is all about. However, at query and reporting time, these tables must be joined to get a complete picture of the data.
Joins in Elasticsearch
Elasticsearch does not support joining of indexes like in SQL. Instead elasticsearch offers two types of joins within a single index.
-
The first is a nested query where a field value can be an array of objects, and the query can address the nested object fields.
-
The second type of join supported in Elasticsearch is has_child and has_parent queries. This allows a parent-child relationship between documents (or rows) within a single index.
Join outside of Elasticsearch
Since Elasticsearch does not support joining tables in the SQL sense, what are we to do? After all, when dealing with normalized tables, a join is essential. Elasticsearch recommends denormalization of the data before loading it into Elasticsearch. They, however, do not provide or suggest any means of denormalizing the data.
In Argon, we have implemented join between two tables. This is done outside Elasticsearch (not as a plugin). Our implementation allows you to join two indexes (or tables) with a join column linking the tables. The results of the join can then be written to another table, or exported as JSON.
Joining two tables in Elasticsearch
As an example, let us now load a Customers database and an Orders database and attempt to join the two using the CustomerID column. We will then export the resulting data to JSON to illustrate its hierarchical nature.
The data is from the Northwind database which was shipped as an example database with Microsoft Access. Here is some sample data from the Customers table in JSON format.
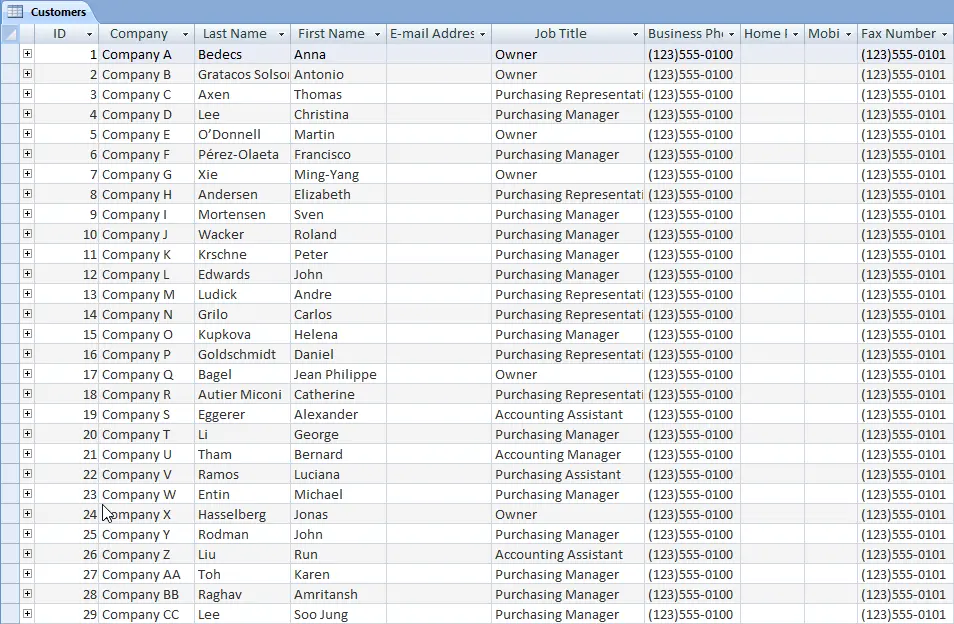
The Customers table
...
{
  "E-mail Address": "",
  "Country/Region": "USA",
  "Attachments": null,
  "Fax Number": "(123)555-0101",
  "City": "Boston",
  "Last Name": "Gratacos Solsona",
  "Company": "Company B",
  "Job Title": "Owner",
  "State/Province": "MA",
  "First Name": "Antonio",
  "Notes": "",
  "ZIP/Postal Code": 99999,
  "Business Phone": "(123)555-0100",
  "Mobile Phone": "",
  "Address": "123 2nd Street",
  "Web Page": "",
  "ID": 2,
  "Home Phone": ""
},
...
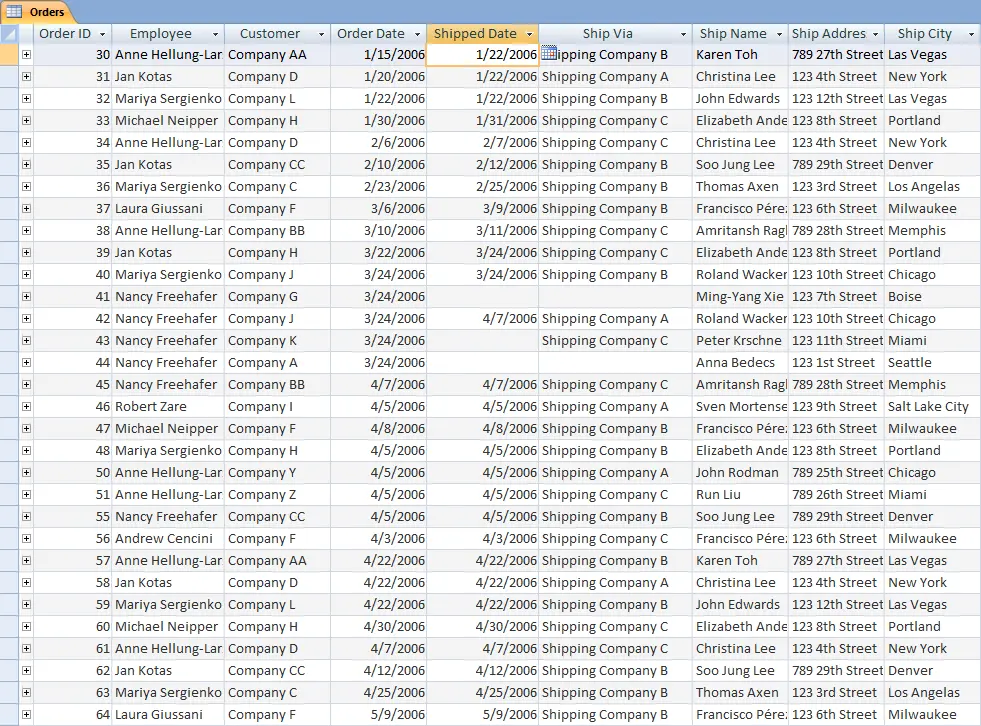
The Orders table
Here is a sample order entry from the Orders table in JSON format.
...
{
  "Tax Status": "",
  "Payment Type": "Check",
  "Paid Date": "2006-01-14T18:30:00.000Z",
  "Employee ID": 9,
  "Taxes": 0.0,
  "Ship Name": "Karen Toh",
  "Ship State/Province": "NV",
  "Ship Country/Region": "USA",
  "Ship City": "Las Vegas",
  "Tax Rate": 0.0,
  "Customer ID": 27,
  "Order Date": "2006-01-14T18:30:00.000Z",
  "Status ID": 3,
  "Ship ZIP/Postal Code": 99999,
  "Shipping Fee": 200.0,
  "Shipped Date": "2006-01-21T18:30:00.000Z",
  "Shipper ID": 2,
  "Notes": "",
  "Ship Address": "789 27th Street",
  "Order ID": 30
}
...
We will now show how to join these two tables using the join column CustomerID as the link.
Import CSV data into Argon
We begin by importing the CSV data for both tables into Argon. While importing, please do note the following.
-
Data types for most columns are automatically detected.
-
However, for the Shipping Fee and Taxes columns in the Orders data, you need to adjust the data types to float (as explained here since these fields include a currency sign (
$).
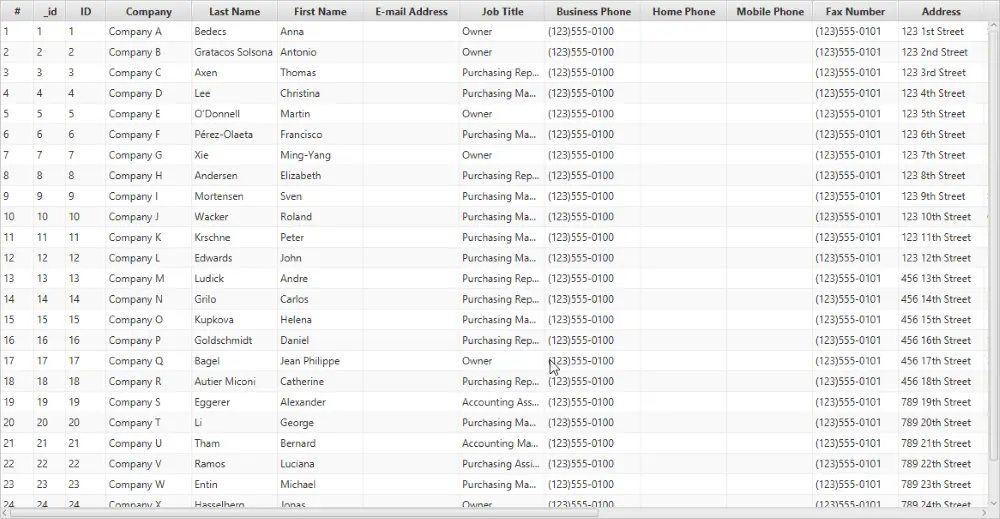
Here is the Customers table after importing it into Argon.
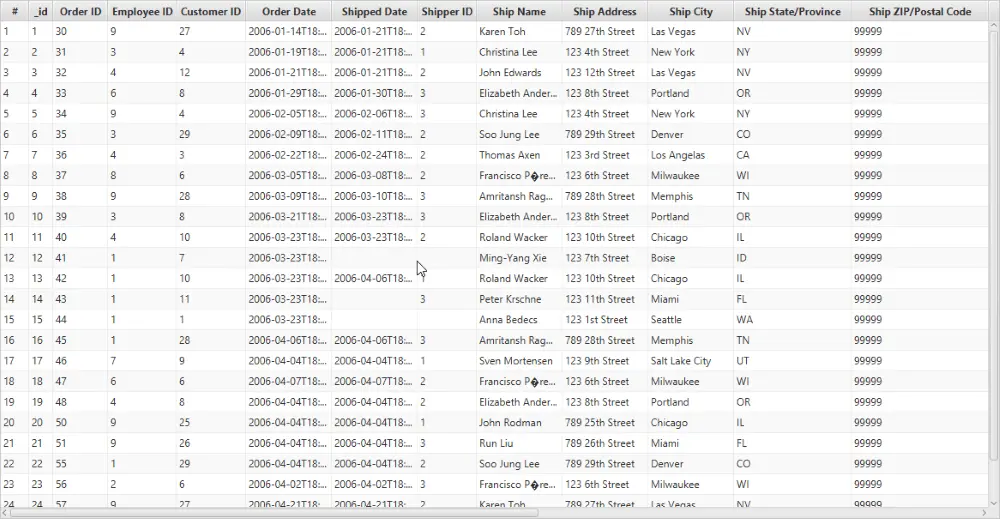
And here is the Orders table.
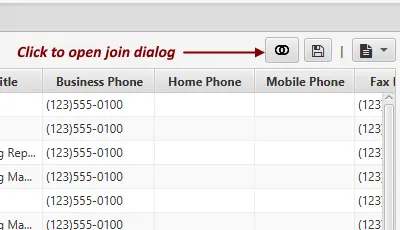
Open the join dialog
Once the data has been imported into Argon, select the Customers table and click on the Join button as shown below.
1. Select Customers Table
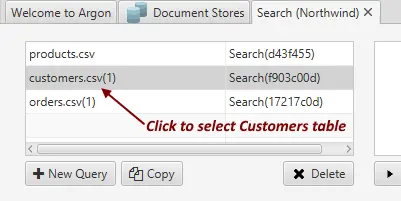
2. Click to open join dialog
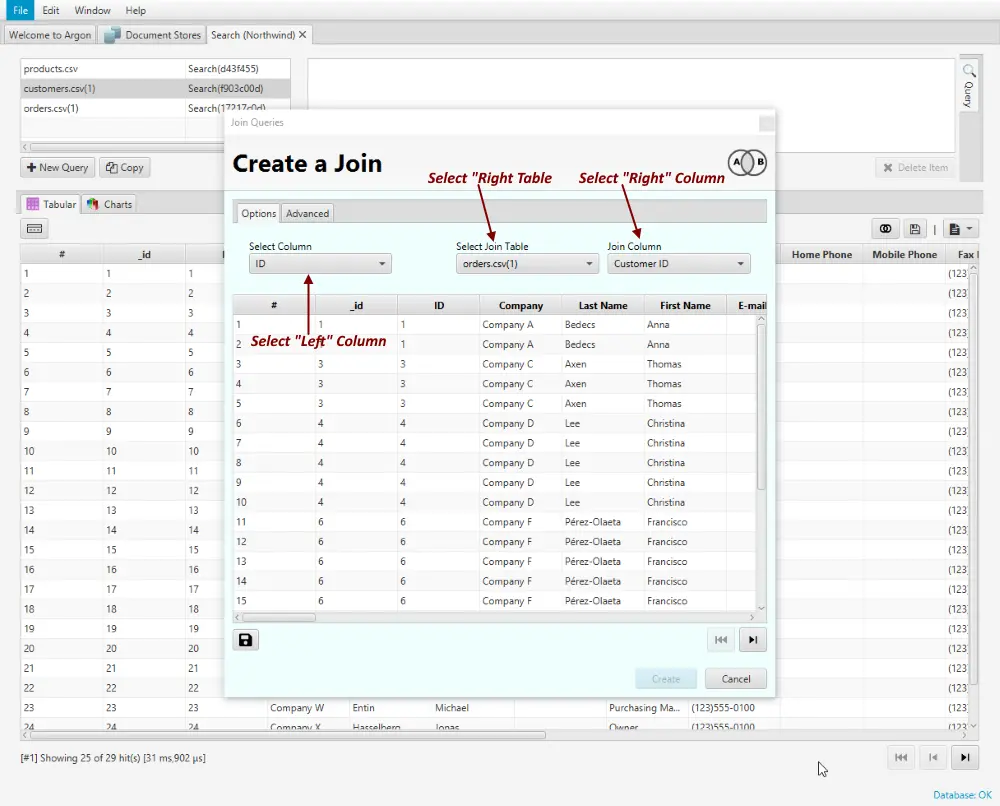
Select join table and column
A join consists of a left column, a right table and a right column. Rows with the same value in the left and right columns are linked together to form the join.
As shown in the image below, select the join parameters as shown below. The results of the join are shown in the table.
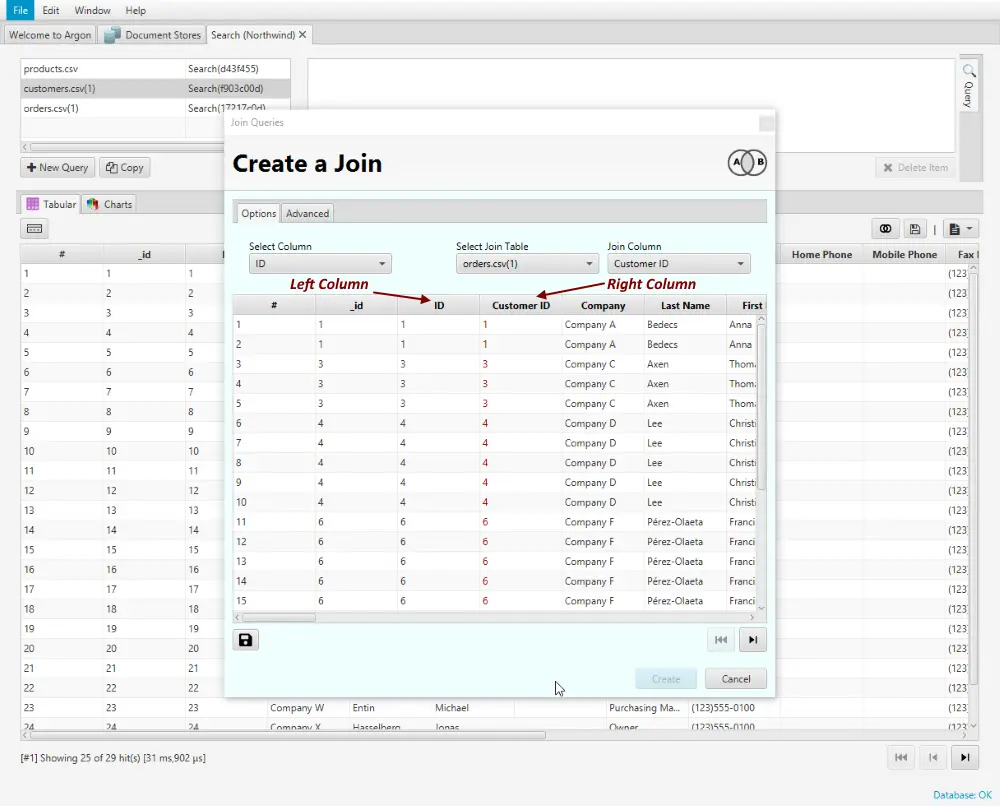
Join results
The join results are shown in the table. As mentioned above, each row of the join consists of a row from the left table linked with one or more rows from the right table using the join column. The right table columns in the join table are colored differently to help distinguish from the left table columns.
Exporting the results
To open the export dialog, click the save button at the bottom left of the table. For this example, we will export to JSON to illustrate the hierarchical output.
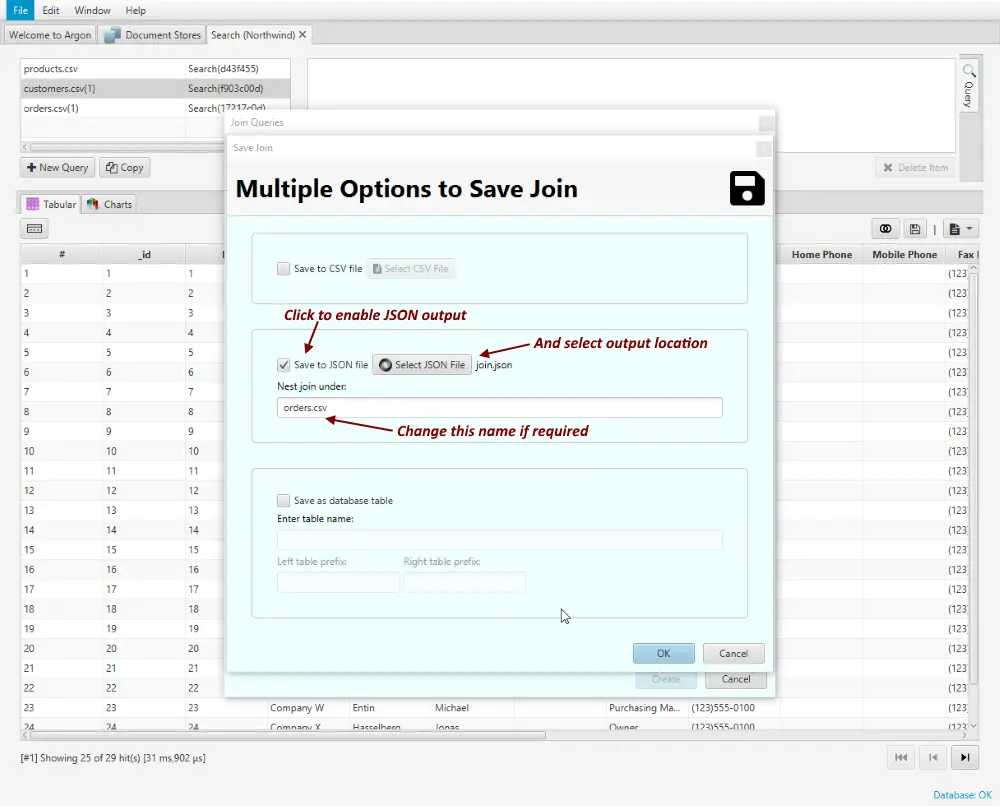
A snippet of the JSON output is shown below. Note that Orders are linked to the Customer in an array field named “orders.csv”.
...
{
    "Address": "123 1st Street",
    "Attachments": null,
    "Business Phone": "(123)555-0100",
    "City": "Seattle",
    "Company": "Company A",
    "Country/Region": "USA",
    "E-mail Address": "",
    "Fax Number": "(123)555-0101",
    "First Name": "Anna",
    "Home Phone": "",
    "ID": 1,
    "Job Title": "Owner",
    "Last Name": "Bedecs",
    "Mobile Phone": "",
    "Notes": "",
    "State/Province": "WA",
    "Web Page": "",
    "ZIP/Postal Code": 99999,
    "orders.csv": [
        {
            "Customer ID": 1,
            "Employee ID": 1,
            "Notes": "",
            "Order Date": "2006-03-23T18:30:00.000Z",
            "Order ID": 44,
            "Paid Date": null,
            "Payment Type": "",
            "Ship Address": "123 1st Street",
            "Ship City": "Seattle",
            "Ship Country/Region": "USA",
            "Ship Name": "Anna Bedecs",
            "Ship State/Province": "WA",
            "Ship ZIP/Postal Code": 99999,
            "Shipped Date": null,
            "Shipper ID": null,
            "Shipping Fee": 0.0,
            "Status ID": 0,
            "Tax Rate": 0.0,
            "Tax Status": "",
            "Taxes": 0.0
        },
...
Left Outer Join
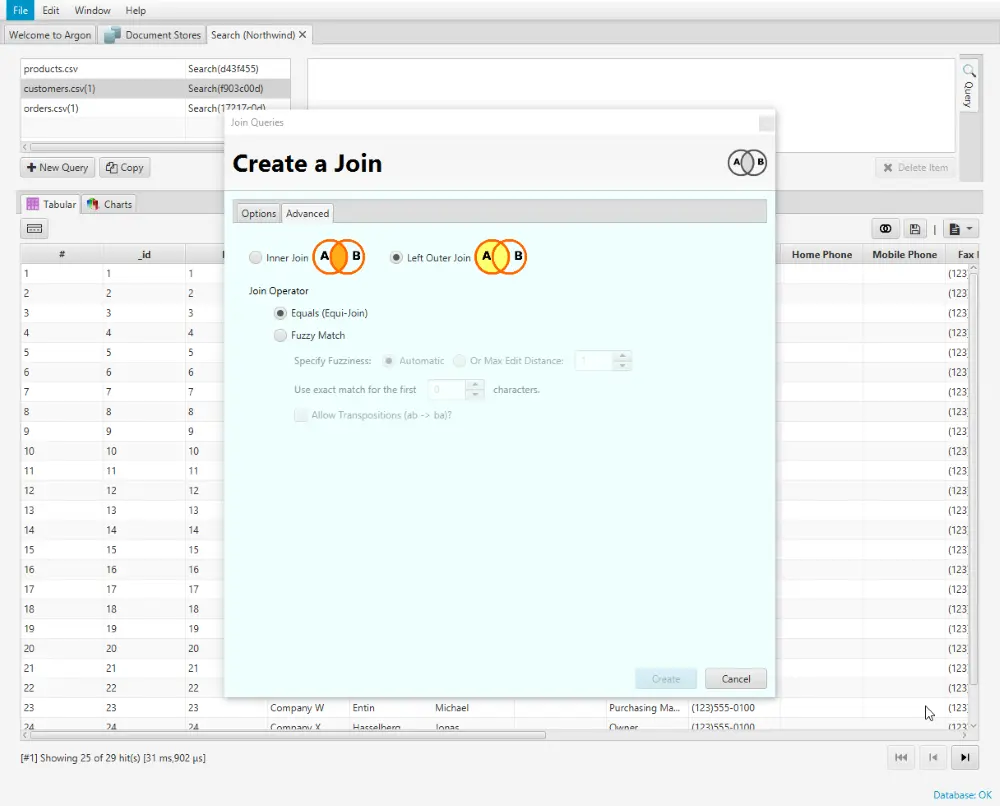
When you study the JSON output of the join procedure described above, you will notice that there is at least one order associated with each customer. This is because the join condition used by default is called inner join. To include customers who have not placed any orders also, you can change the join condition to left outer join. To do this, click the Advanced Tab in the join dialog, and change the condition to Left Outer Join.
Save the output again, and you will get the following output. Notice that now there are customers who have not placed an order yet (an orders.csv member not present).
...
  {
    "E-mail Address": "",
    "Country/Region": "USA",
    "Attachments": null,
    "Fax Number": "(123)555-0101",
    "City": "Boston",
    "Last Name": "Gratacos Solsona",
    "Company": "Company B",
    "Job Title": "Owner",
    "State/Province": "MA",
    "First Name": "Antonio",
    "Notes": "",
    "ZIP/Postal Code": 99999,
    "Business Phone": "(123)555-0100",
    "Mobile Phone": "",
    "Address": "123 2nd Street",
    "Web Page": "",
    "ID": 2,
    "Home Phone": ""
  },
  {
    "E-mail Address": "",
    "Country/Region": "USA",
    "Attachments": null,
    "Fax Number": "(123)555-0101",
    "City": "Los Angelas",
    "Last Name": "Axen",
    "Company": "Company C",
    "orders.csv": [
      {
        "Tax Status": "",
        "Payment Type": "Cash",
        "Paid Date": "2006-02-22T18:30:00.000Z",
        "Employee ID": 4,
        "Taxes": 0.0,
        "Ship Name": "Thomas Axen",
...
Try it yourself
-
Download and install Argon.
-
Import two CSV files to join.
-
Pick join type - inner join or left outer join.
-
Export result to JSON with proper linking.